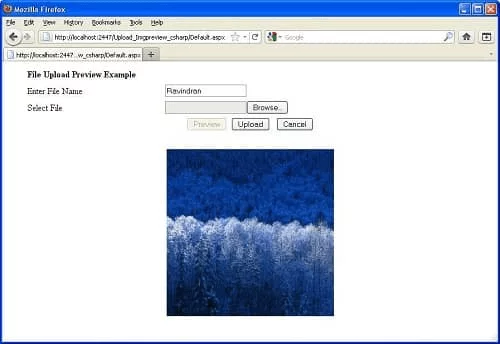
In this asp.net tutorial, We will explain how to upload an image to a website and directly display the image using FileUpload control. Let’s upload and immediately display images in ASP.NET.
The FileUpload control in asp.net used to upload any file like image, document file, zip file ..etc to the asp.net website. Here, we understand how to upload a file using FileUpload control with an asp.net example.
- Step 1 – Open the
Visual Studio–> Create a new empty Web application. - Step 2 – Create a New web page to display FileUpload control.
- Step 3 – Drag and drop Image Control to view uploaded photos.
- Step 4 – Now, Drag and drop
FileUploadcontrol on the web page along with Image control. - Step 5 – write server-side code in a button click event for upload image using FileUpload control.
Here is the HTML source code for the above asp.net web page.
|
1 2 3 4 5 6 |
<div> <asp:Image ID="imgPicture" Width="200" Height="200" runat="server" /> <asp:FileUpload ID="fluPicture" onchange="this.form.submit();" runat="server" Width="200" /> </div> |
Here is the upload button c# code:
|
1 2 3 4 5 6 7 8 9 10 11 12 13 14 15 16 17 18 19 |
protected void Page_Load(object sender, EventArgs e) { if (fluPicture.PostedFile != null && fluPicture.PostedFile.ContentLength > 0) UpLoadAndDisplay(); } private void UpLoadAndDisplay() { string imgName = fluPicture.FileName; string imgPath = "images/" + imgName; int imgSize = fluPicture.PostedFile.ContentLength; if (fluPicture.PostedFile != null && fluPicture.PostedFile.FileName != "") { fluPicture.SaveAs(Server.MapPath(imgPath)); imgPicture.ImageUrl = "~/" + imgPath; } } |


Leave a Comment