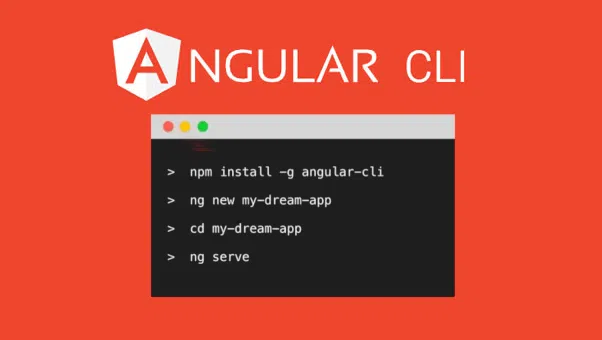
Angular is a popular framework for building dynamic web applications. If you are setting up or Install Angular CL on a Windows machine, follow this detailed guide to install it properly.
Prerequisites
Before installing Angular, ensure your system meets the following requirements:
- Windows 10 or later
- Node.js and npm installed
Install Node.js and npm
Angular requires Node.js and npm (Node Package Manager). Follow these steps to install them:
- Download the latest LTS (Long-Term Support) version of Node.js from Node.js official website.
- Run the installer and follow the installation steps.
- Verify the installation by opening Command Prompt (cmd) or PowerShell and running:
123node -v123npm -v
These commands should return the installed versions of Node.js and npm.
Check Existing Angular Version
Before upgrading, check your current Angular version by running:
|
1 2 3 |
ng version |
This will display the installed Angular CLI version.
Uninstall Angular CLI
To remove the existing Angular CLI, run the following command:
|
1 2 3 |
npm uninstall -g @angular/cli |
To verify that Angular CLI has been removed, run:
|
1 2 3 |
ng version |
If Angular is completely uninstalled, this command should return an error.
Clear npm Cache (Optional)
To avoid conflicts with old packages, clear the npm cache:
|
1 2 3 |
npm cache clean --force |
Install Angular CLI
The Angular CLI (Command Line Interface) helps in creating, building, and running Angular applications. Run the following command in the terminal:
|
1 2 3 |
npm install -g @angular/cli@latest |
Verify the installation:
|
1 2 3 |
ng version |
This should display the Angular CLI version and other details.
Create a New Angular Project
Now that Angular CLI is installed, create a new project:
|
1 2 3 |
ng new my-angular-app |
- It will prompt you to choose options like adding Angular routing and selecting CSS preprocessors. Choose based on your preference.
- Navigate into the project folder:
123cd my-angular-app
Serve the Angular Application
To run the Angular app, use the following command:
|
1 2 3 |
ng serve |
By default, Angular starts on http://localhost:4200/. Open your browser and visit, you should see the default Angular welcome page.
Open the Project in VS Code
For better development experience, open the project in Visual Studio Code:
- Install Visual Studio Code from VS Code official website.
- Open the terminal in VS Code and navigate to your project folder:
123code .
Install Additional Dependencies (Optional)
Depending on your project requirements, install additional libraries like Bootstrap, Angular Material, etc.
For Bootstrap:
|
1 2 3 |
npm install bootstrap |
For Angular Material:
|
1 2 3 |
ng add @angular/material |
Conclusion
You have successfully installed Angular on your Windows machine! Now you can start developing Angular applications. If you encounter any issues, check the Angular official documentation for troubleshooting and best practices. Happy coding!


Leave a Comment